 ( 256 ) 14-Apr-2015
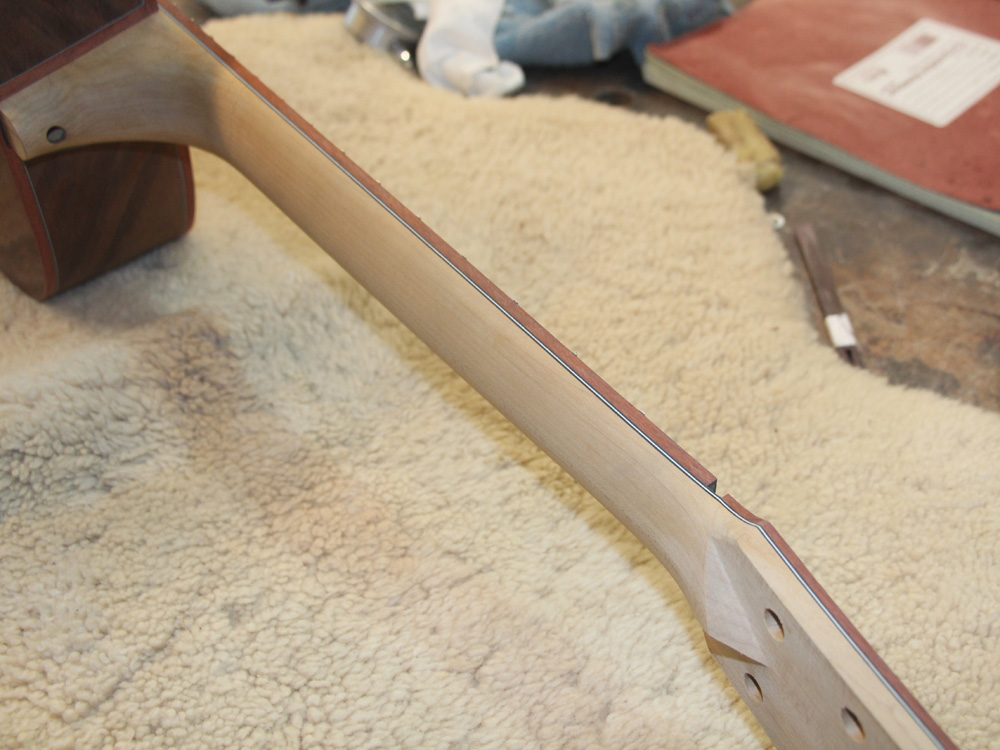
Unfortunately I got so wrapped up in carving the neck (my favorite part) that I forgot to take pictures of the process. Nonetheless we can see the results.
Here is a picture of the volute a little farther along.
OM..................... 15" Lower Bout
Body..................... Walnut
Top....................... Sitka Spruce
Bracing................. Engineered asymmetrical modified X-bracing system
Neck..................... 25.4" Scale Maple,
User Adjustable Tilt Action Neck … Variable String to Fretboard Spacing
Dual action truss rod
Fretboard.............. Ebony
Bridge................... Ebony
Binding................. Blooodwood
Appointments....... Shell Inlay
Tuners.................. Gotoh 510 Silver
Nut & Saddle....... Bone
( 256 ) 14-Apr-2015
Unfortunately I got so wrapped up in carving the neck (my favorite part) that I forgot to take pictures of the process. Nonetheless we can see the results.
Here is a picture of the volute a little farther along.
 ( 257 ) 14-Apr-2015
I have set up the milling machine to drill the holes for the neck adjustment hardware.
 ( 258 ) 14-Apr-2015
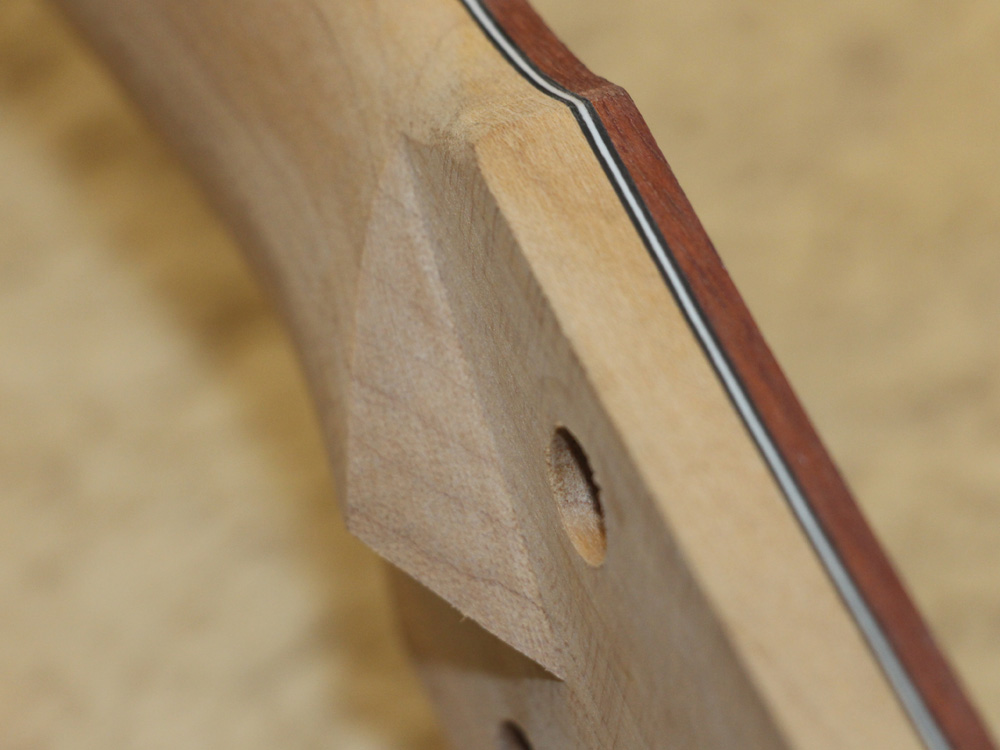
I drill all the way through the heel. This hole will give us access to the adjustment bolt and it will house the strap pin.
 ( 259 ) 14-Apr-2015
The hardware has a compression ring to prevent it from rattling around. I apply a bit of pressure while the glue sets up.
 ( 260 ) 14-Apr-2015
And then I drill two holes though the retaining flange and install dowels that will hold the flange firmly in place.
 ( 261 ) 14-Apr-2015
 ( 262 ) 14-Apr-2015
Before carving the neck I mask off all of the areas I don't want to remove any wood from. I use a variety of power and hand tools to slowly bring the neck to its final shape.
 ( 263 ) 14-Apr-2015
Here I am drilling holes for the tuning machines.
 ( 264 ) 14-Apr-2015
I installed burled maple rings to frame the tuning machines.
 ( 265 ) 14-Apr-2015
 ( 266 ) 14-Apr-2015
 ( 267 ) 14-Apr-2015
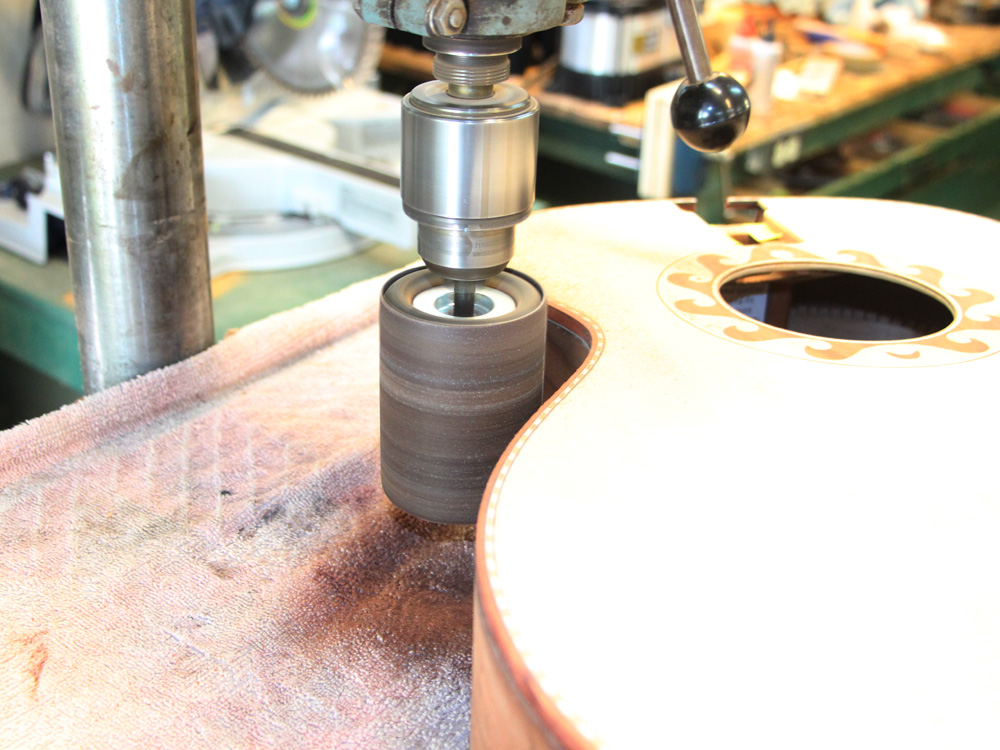
Now I am ready to install the binding. First I route the channel for the binding with my "Universal Bindalator."
 ( 268 ) 14-Apr-2015
This tool allows me to route the channels while holding the router parallel to the sides.
 ( 269 ) 14-Apr-2015
 ( 270 ) 14-Apr-2015
 ( 271 ) 14-Apr-2015
Before gluing the bindings in place I prepare the edge of the spruce top with some nitrocellulose. This prevents the glue from wicking into the grain and discoloring it.
 ( 272 ) 14-Apr-2015
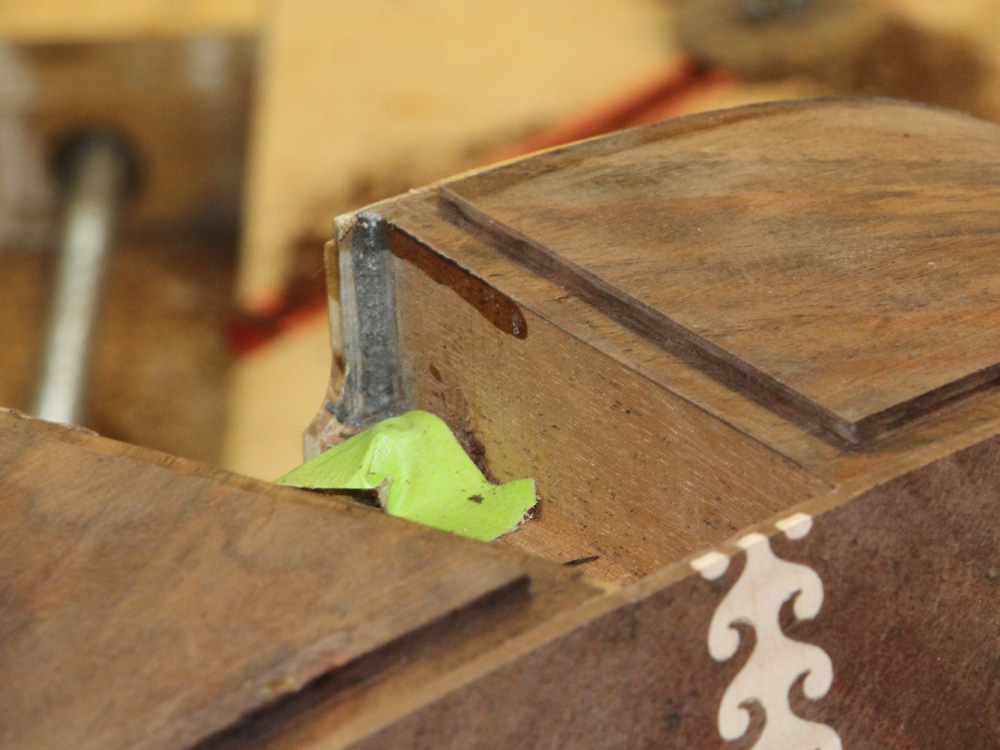
The channel around the heel gets a bit of special attention.
 ( 273 ) 14-Apr-2015
 ( 274 ) 14-Apr-2015
Starting to glue the pin striping in place.
 ( 275 ) 14-Apr-2015
I have mounted the neck in the heel channel and centered it.
 ( 276 ) 14-Apr-2015
Now I can fit the binding around the neck and get a good fit.
 ( 277 ) 14-Apr-2015
 ( 278 ) 14-Apr-2015
Tape and glue to install the binding.
 ( 279 ) 14-Apr-2015
 ( 280 ) 14-Apr-2015
The binding is installed proud of the top surface and gets sanded down flush with the top.
 ( 281 ) 14-Apr-2015
The binding was installed shy of the side surface and the side gets sanded flush with the binding.
 ( 282 ) 14-Apr-2015
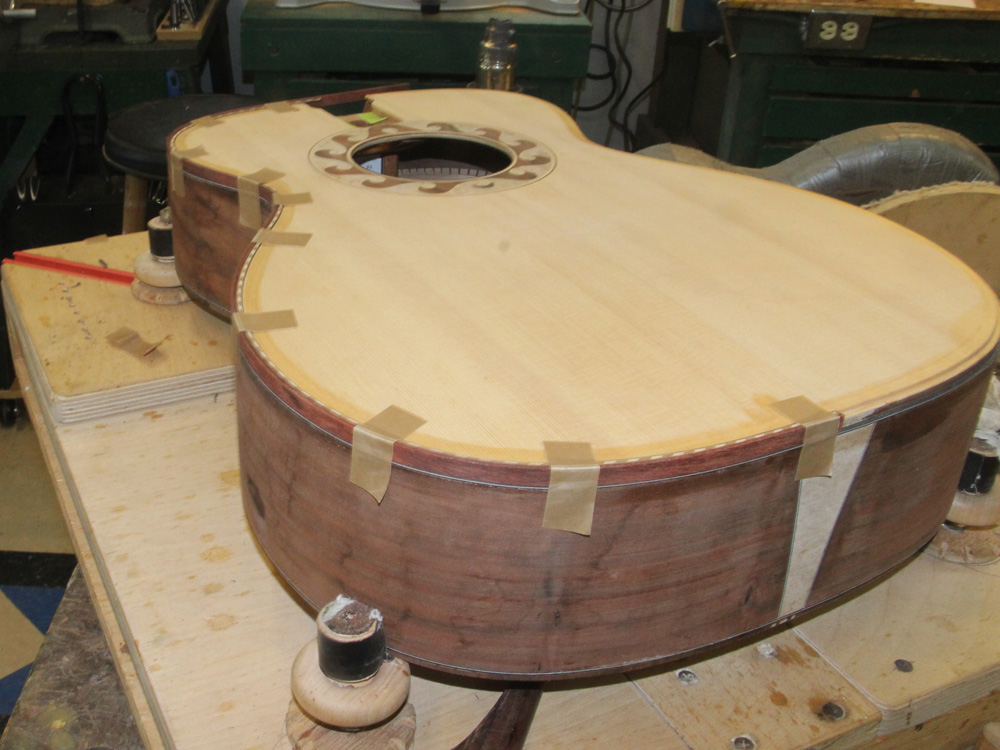
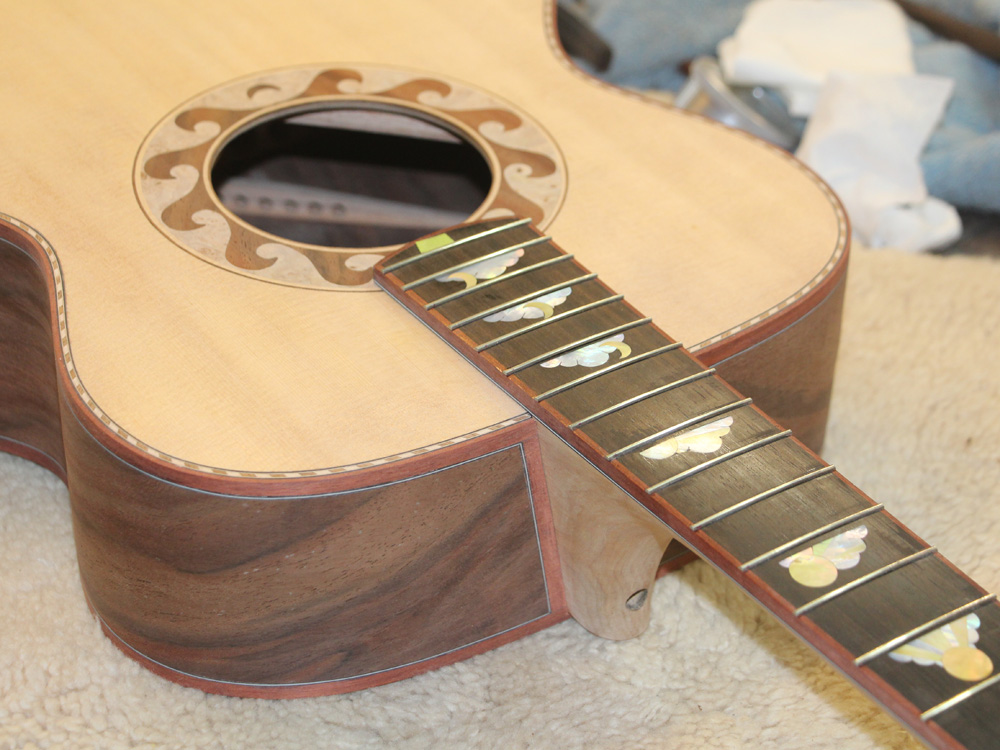
The following are a few pictures of the results.
 ( 283 ) 14-Apr-2015
 ( 284 ) 14-Apr-2015
 ( 285 ) 14-Apr-2015
 ( 286 ) 14-Apr-2015
 ( 287 ) 14-Apr-2015
 ( 288 ) 14-Apr-2015
 ( 289 ) 14-Apr-2015
 ( 290 ) 14-Apr-2015
 ( 291 ) 14-Apr-2015
Next up is detailing and finish prep.